Cyber Infrastructure & Technology

Scenario
An organization’s monitoring system identified suspicious download activities captured in a honeypot named Cowrie. The Splunk system recorded the event, but the system cannot be accessed because its operator, who was the head of the security investigation team, was recently released from the company. You were hired as a security analyst not long after.
Due to the recent events, there was not enough time to provide you with all the information required to freely access the system. However, the system administrator was able to provide you with access to the mail server and told you that all the data needed to access the system is stored on that server.
Your objective is to connect to the Splunk system, investigate the events, and identify a suspicious message to obtain the flag.
Environment Setup
Start both machines.
# Windows 10 and Ubuntu running
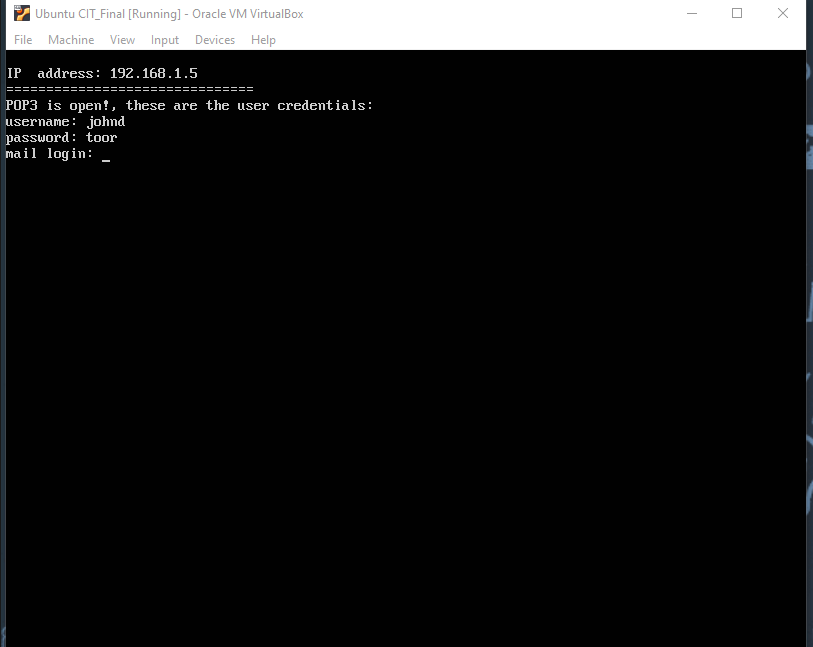
Examine the IP address in the Ubuntu VM and write it down.
# 192.168.1.5/24
In the command prompt (CMD) from the Windows 10 VM we need to verify connectivity with the ping command to the Ubuntu machine to show that the two VMs are communicating. We can do this with the following:

Task 1: Connect to the Mail Server
In this task, you will connect to the mail server and retrieve the important emails.
1 Inspect the Ubuntu VM and note the message about the POP3 protocol.
# POP3 is open!
2 Which port does POP3 use?
# Port 110
3 Use Telnet to connect to the POP3 service via PowerShell. Were you successful? Why?
# Not successful, telnet service is not enabled under Windows features.
4 Install Telnet in the Windows 10 VM.
# Enabled telnet in Windows Features
5 Try to establish the connection again and log in once connected.
# Using command: telnet 192.168.1.5 110 allows connection
6 List the existing emails and investigate them to search for interesting information.
# Using command list shows there are 5 emails
7 Enter the provided URL and log into the system.
# Splunk http://192.168.1.5:9080
username: admin
password: CIT_Final!
Task 2: Search for Suspicious Activity
In this task, you will search for recorded suspicious activity in the organization.
1 In the platform, search for records of the download attempt and investigate them to identify the potential sources.
# Source IP 192.168.56.1 @ 7:24:49 AM on 2/17/2020
2 Access the located sources to search for interesting information in them.
# Navigating to https://pastebin.com/raw/0cs1NHvh gets the base64 string
3 Decipher the messages located in the URLs and identify the flag.
# Flag Captured using the Base64 decoder
